Fixing a Leaky Water Heater Step by Step
Geyser Leak Repair: What to Do First
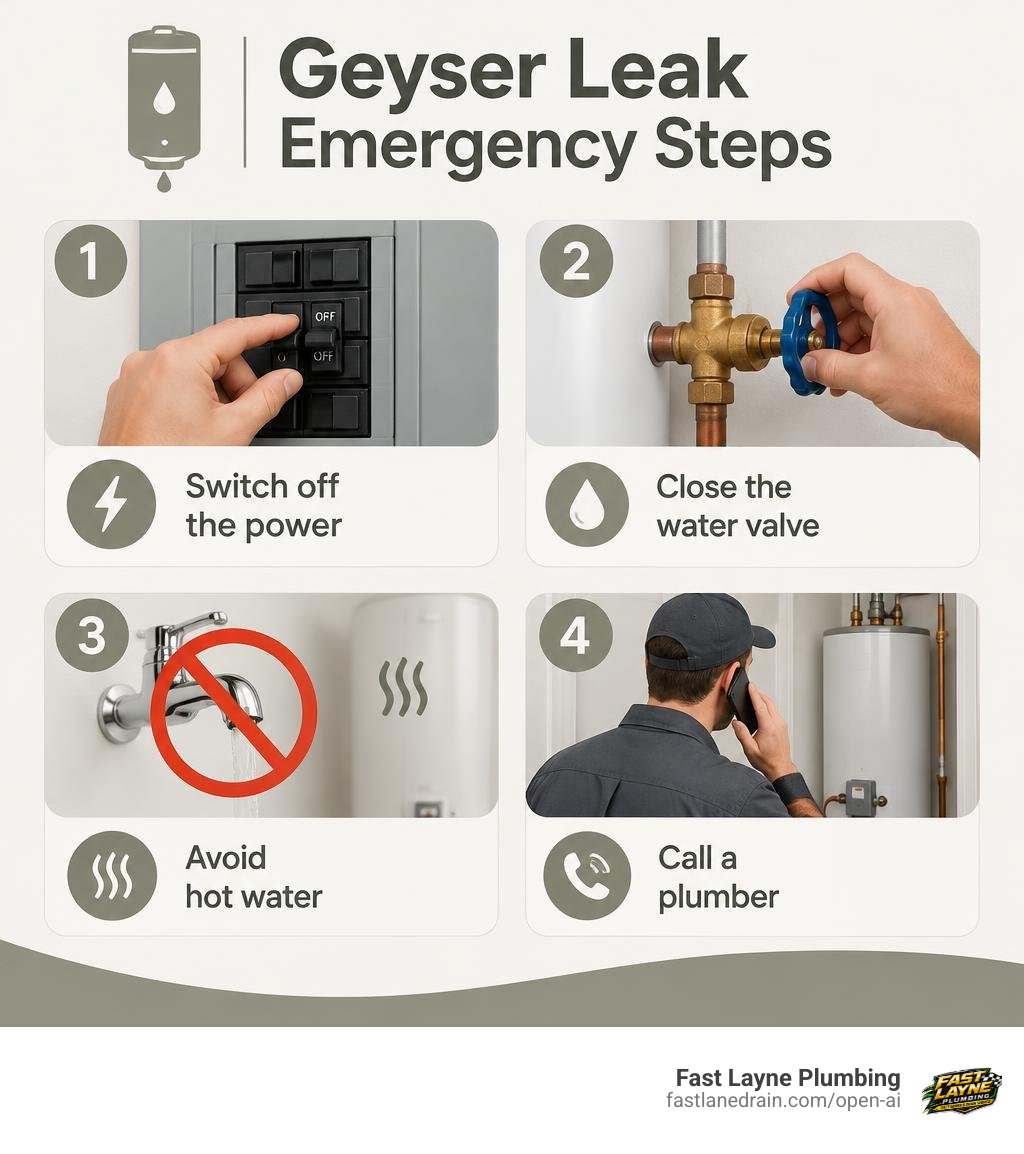
For safe geyser leak repair, turn off the water heater at its circuit breaker, then close its cold-water supply valve. Stay away from hot water and wet electrical parts. If you can look without touching the unit, note whether the water is coming from a fitting, seal, valve, or the tank itself. A plumber can often fix a leaking fitting or seal, but a leaking tank usually needs replacement.
I’m David Layne, owner of Fast Layne Plumbing. With over 10 years in plumbing, I help Phoenix-area customers understand geyser leak repair and make clear repair-or-replace decisions.
Immediate Safety and Emergency Shutoff Steps
Discovering a puddle beneath your water heater can send your heart racing. A pressurized cylinder holding dozens of gallons of scalding water is nothing to take lightly. Taking immediate control of the situation prevents minor drips from turning into catastrophic indoor floods or severe electrical hazards.
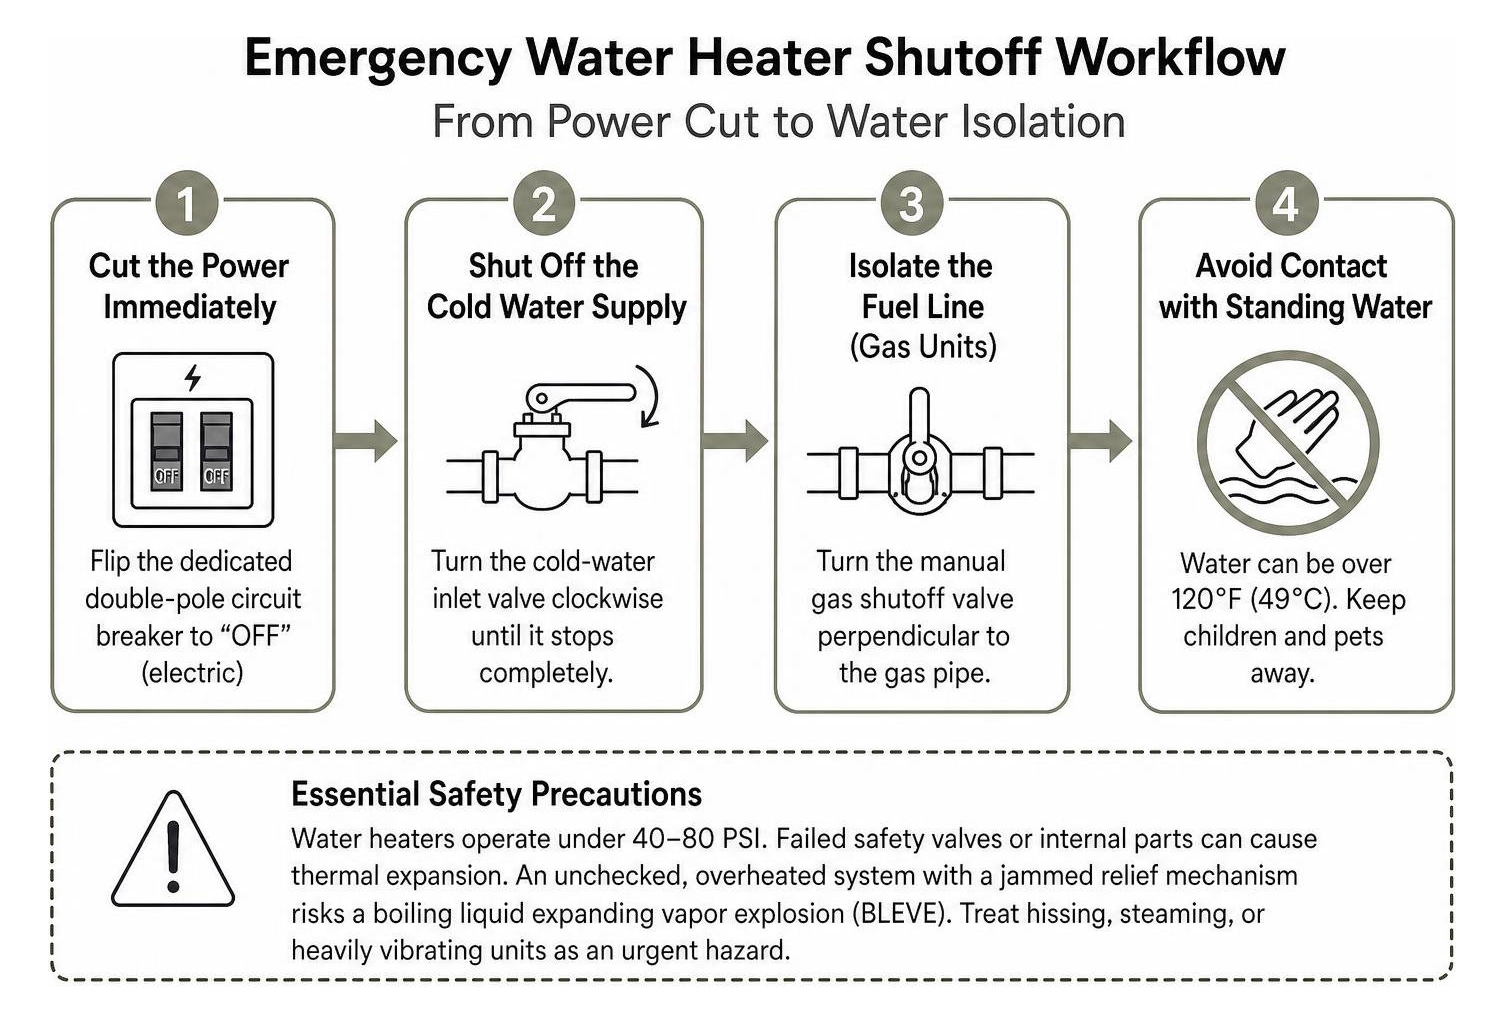
- Cut the Power Immediately: For electric geysers, head straight to your electrical service panel and flip the dedicated double-pole circuit breaker to “OFF.” For gas units, twist the thermostat control knob on the gas valve to the “OFF” or “PILOT” setting. Never touch a wet metal tank or stand in pooled water while interacting with electrical switches.
- Shut Off the Cold Water Supply: Locate the cold-water inlet valve at the top of the geyser. Turn the lever a quarter-turn, or turn a round gate wheel clockwise until it stops completely. This cuts off incoming municipal pressure and halts new water from entering the tank.
- Isolate the Fuel Line (Gas Units): If your unit runs on natural gas or propane and you suspect damage around the burner assembly, turn the manual gas shutoff valve perpendicular to the gas pipe.
- Avoid Contact with Standing Water: Water leaking from an active tank can be well over 120°F (49°C), easily causing second-degree scalding injuries within seconds. Keep children and pets away from the area.
Essential Safety Precautions Before Geyser Leak Repair
Before picking up any tools or inspecting the unit closely, you need to understand the structural risks at play. Water heaters operate under continuous pressure, typically between 40 and 80 PSI. When safety valves fail or internal components deteriorate, uncontrolled thermal expansion can occur.
Familiarizing yourself with common signs your geyser needs repair—such as strange popping sounds, rust-tinged water, or burning odors—helps you spot trouble before catastrophic failures develop. An unchecked, overheated system with a jammed relief mechanism risks a boiling liquid expanding vapor explosion (BLEVE), a rare but devastating event where the tank ruptures violently under extreme pressure. Always treat a hissing, steaming, or heavily vibrating unit as an urgent hazard.
Depressurizing and Draining the Tank
If water is actively flooding out of the unit, draining the tank relieves internal weight and prevents additional water from spilling onto your floors.
- Attach a Standard Garden Hose: Thread a durable garden hose onto the brass or plastic drain valve located near the base of the tank.
- Route to a Safe Drainage Point: Lead the other end of the hose outside to a driveway, floor drain, or landscape area capable of handling hot, sediment-heavy water.
- Open Hot Water Faucets: Go inside your home and open two or three hot water taps on your sinks. This breaks the vacuum inside your plumbing lines and allows the tank to drain smoothly.
- Open the Drain Valve: Use a flathead screwdriver or channel locks to open the drain valve. Keep it open until the water level drops below the leaking component.
Identifying the Source: Minor vs. Serious Leaks
Not every puddle spells the end of your water heater. Water travels along pipes and outer metal jackets, making a leak appear far worse than it actually is.
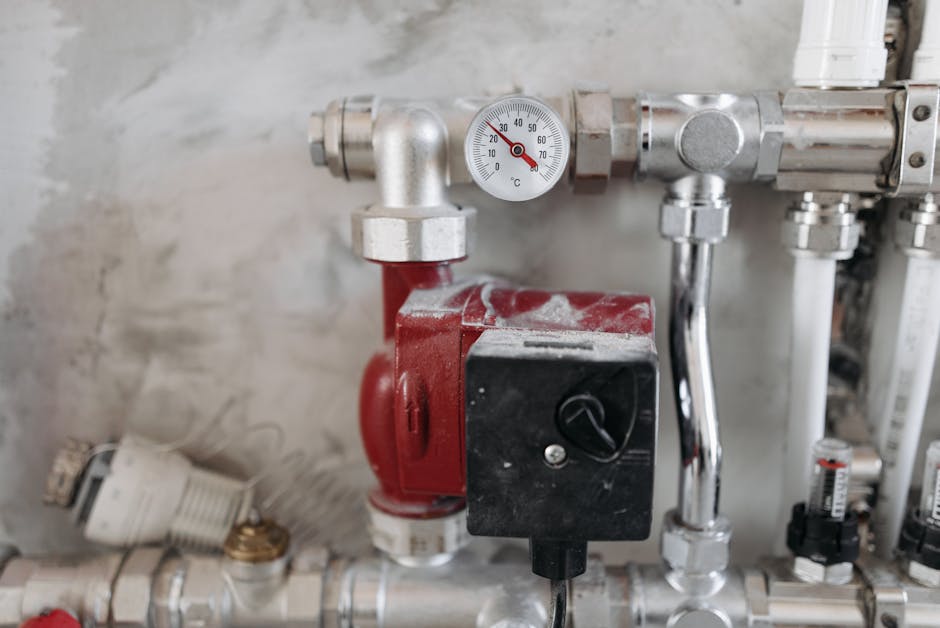
Before jumping to conclusions, dry the tank’s outer surface with old towels and use a flashlight to pinpoint where the moisture begins.
Minor Causes: Loose Fittings, Gaskets, and Caps
Many leaks originate from external plumbing connections rather than the pressurized vessel itself:
- Inlet and Outlet Nipples: The cold-water inlet and hot-water outlet pipes at the top of the heater can vibrate loose over time or suffer from deteriorated dielectric unions.
- Heating Element Gaskets: On electric models, water dripping down the side of the jacket often originates from a worn rubber O-ring or silicone gasket behind the upper or lower heating element access panel.
- Drain Valve Threads: Plastic factory drain valves are notorious for developing weeping leaks around their internal washers or where their threads screw into the tank body.
- Condensation Accumulation: In colder months or after filling an empty tank with frigid water, heavy condensation can collect along the cold tank shell, drip into the burner pan, and sizzle as it hits the flame.
Critical Failures: Temperature and Pressure (T&P) Valve and Tank Corrosion
Some leaks point to deeper structural degradation that requires immediate intervention:
- Temperature and Pressure (T&P) Relief Valve: Located on the top or side of the tank, this valve is designed to vent water through an exterior discharge pipe if temperature exceeds 210°F (99°C) or pressure tops 150 PSI. If it is constantly dripping, you could be dealing with mineral buildup inside the valve seat or dangerously high municipal water pressure.
- Internal Tank Seam Corrosion: Modern steel tanks rely on an internal glass or vitreous enamel lining paired with a sacrificial anode rod to fend off corrosion. Once the anode rod is fully depleted, aggressive minerals attack the steel shell. A detailed water heater leak repair diagnosis will reveal that water pooling from the bottom seams or through the lower outer jacket indicates an internally breached tank that cannot be patched.
Step-by-Step Guide to Geyser Leak Repair
If your leak originates from a serviceable seal, gasket, or threaded fitting, you can often resolve the issue using standard plumbing tools and replacement parts.
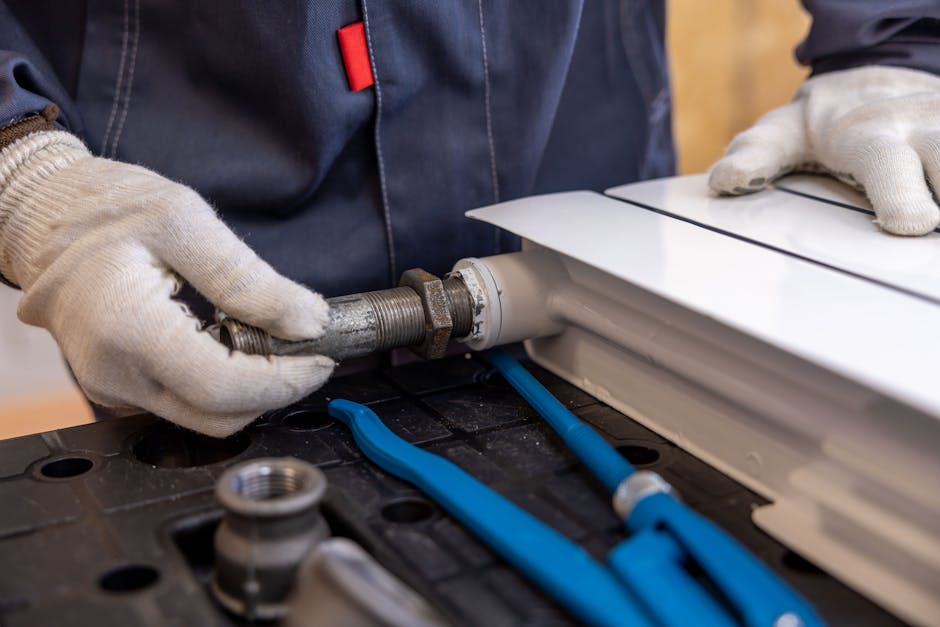
To tackle a minor leak repair, gather these essential supplies:
- Adjustable pipe wrenches (pair)
- Heavy-duty channel-lock pliers
- Teflon thread-sealant tape (rated for potable water)
- PTFE pipe thread compound (paste)
- Replacement element gasket or washer kit
- Element socket wrench (1-1/2 inch)
- Garden hose for draining
How to Perform a Seal or Washer Geyser Leak Repair
Replacing a deteriorated heating element seal or inlet washer requires patience and careful attention to torque:
- Verify Isolation: Double-check that your circuit breaker is off using a non-contact voltage tester at the heating element terminals.
- Drain Below Component Level: Drain the tank water until the level rests several inches below the element port you are servicing.
- Disconnect Element Wiring: Label and detach the two electrical lead wires from the element screws.
- Unthread the Element: Fit your element socket wrench over the hex head and turn counterclockwise to back the element out of the tank collar.
- Clean the Sealing Surface: Scrape away old, baked-on rubber residue and mineral scale from the tank’s threaded collar using a soft wire brush or scraper. Ensure the mating surface is completely smooth.
- Seat the New Washer: Slide a brand-new, heat-resistant silicone or EPDM gasket over the element threads, ensuring it rests flush against the flange.
- Thread and Torque: Hand-thread the element into the tank port to avoid cross-threading. Tighten it firmly using the element wrench. Avoid over-tightening, which can pinch or distort the gasket and recreate the leak.
- Refill and Inspect: Open the cold-water inlet valve, bleed air through a nearby hot-water faucet until water flows steadily, and check for leaks before restoring electrical power.
Servicing or Replacing Faulty Valves
When a T&P valve or drain valve fails to seat cleanly, replacement is the safest route:
- Replacing a Faulty Drain Valve: Drain the tank completely. Unscrew the old plastic valve counterclockwise with a wrench. Wrap the threads of a heavy-duty, full-port brass drain valve with five to six wraps of Teflon tape, apply a thin coat of thread paste, and screw it clockwise into the tank until snug and oriented downward.
- Replacing the T&P Relief Valve: Unscrew the discharge pipe attached to the valve outlet. Use a pipe wrench to back the old T&P valve out of the tank body. Apply fresh thread sealant to the male threads of an exact-match replacement valve (confirming pressure and BTU ratings), screw it in tightly, and reattach the discharge pipe so it terminates within 6 inches of the floor or drain.
Repair vs. Replace: Lifespan and Decision Criteria
Water heaters have a typical operational lifespan of 6 to 10 years, which can shorten significantly in regions with hard water or high mineral content. Deciding whether to invest in repairs or install a modern, energy-efficient system comes down to the source of the leak, unit age, and overall condition.
| Evaluation Metric | Minor Component Repair | Full Geyser Replacement |
|---|---|---|
| Typical Problem | Leaking element gasket, dripping valve, loose nipple | Rusted-through tank body, base seam failure |
| Average Unit Age | Under 6–8 years old | 8–10+ years old |
| Typical Cost Range | $150 – $400 | $1,200 – $2,500+ |
| Expected Lifespan Extension | 2 to 5 years | 8 to 12 years (brand-new system) |
| Safety Risk Level | Low (serviceable external parts) | High (structural breach or BLEVE risk) |
If your system is over eight years old and showing signs of heavy tank corrosion or continuous breakdowns, putting money toward temporary fixes is rarely cost-effective.
Hiring a Professional and Preparing for Service
When a leak exceeds your comfort level, involves complex electrical connections, or stems from an internal tank rupture, bringing in a licensed plumbing professional ensures your home remains safe and fully up to local plumbing codes.
To help your plumber provide fast, accurate service, have the following information ready when you call:
- Unit Age and Installation Date: Found on the tank’s rating plate or your installation paperwork.
- Manufacturer and Serial/Model Number: Located on the large manufacturer label on the side of the cylinder.
- Exact Leak Location: Note whether water is pooling at the top fittings, behind electrical access covers, at the T&P discharge pipe, or underneath the base.
- Warranty Documentation: Determine whether your tank or parts remain covered under manufacturer warranty (typically 6 to 10 years).
Frequently Asked Questions About Water Heater Leaks
Can a leaking geyser seal be repaired without replacing the entire unit?
Yes. If water is seeping from an external connection—such as a heating element gasket, plumbing nipple, or threaded cap—the seal or washer can be replaced economically without discarding the water heater. However, if the leak originates from a rusted seam in the tank itself, the entire unit must be replaced.
How long does a standard geyser last before leaking?
Most residential tank-style water heaters last between 6 and 10 years. In areas with hard water, high mineral concentrations can wear out the sacrificial anode rod faster, leading to internal tank rust and leaks in as little as 5 to 7 years if the unit is not flushed and maintained regularly.
What details should I give the plumber when reporting a geyser leak?
Provide your plumber with the water heater’s brand, model number, serial number, approximate age, and fuel type (gas or electric). Describe exactly where you first spotted the moisture (top fittings, side relief valve, or bottom base) and whether you have already shut off the power and water supply.
Conclusion
A leaking water heater demands quick, methodical action to safeguard your home against costly structural water damage and mold growth. By isolating your electrical breakers and shutting off the cold-water inlet valve at the first sign of pooling water, you protect your property and buy time to diagnose the root cause. While simple fixes like replacing element gaskets and faulty valves are manageable projects, an aging, corroded tank requires professional replacement to keep your hot water flowing reliably.
When you need prompt, dependable support, our team at Fast Layne Plumbing is ready around the clock. We provide clear diagnostics, upfront flat-rate pricing, and a 100% satisfaction guarantee across the Phoenix, AZ area. Don’t let a small leak turn into an indoor flood—schedule emergency water heater diagnostics and repair with our certified technicians today.