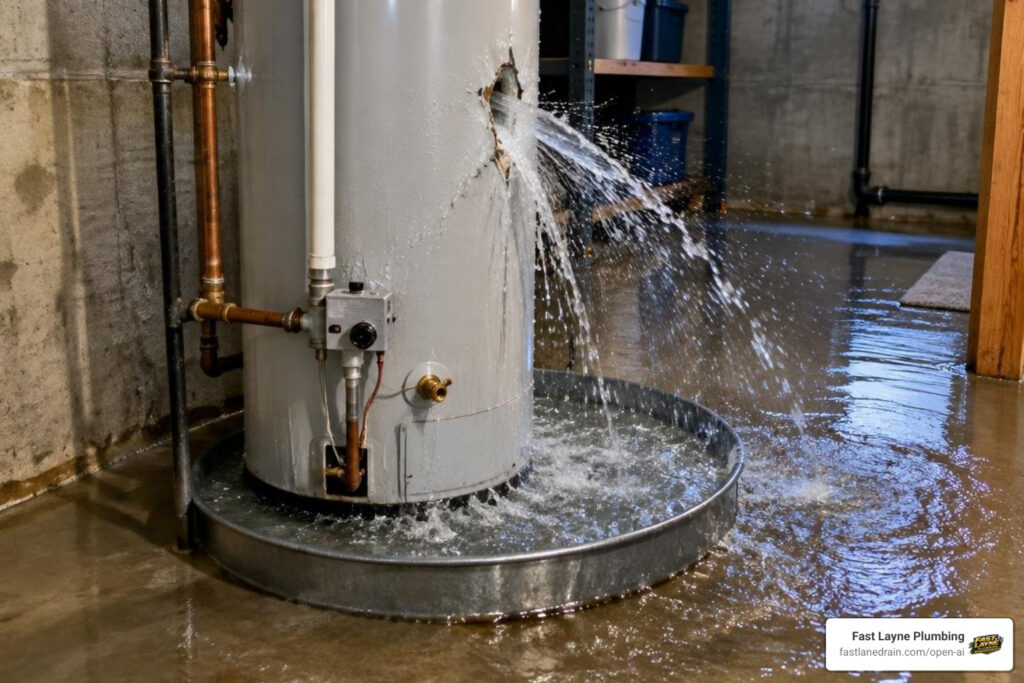
Emergency Geyser Repair Protocols for Stressed Homeowners
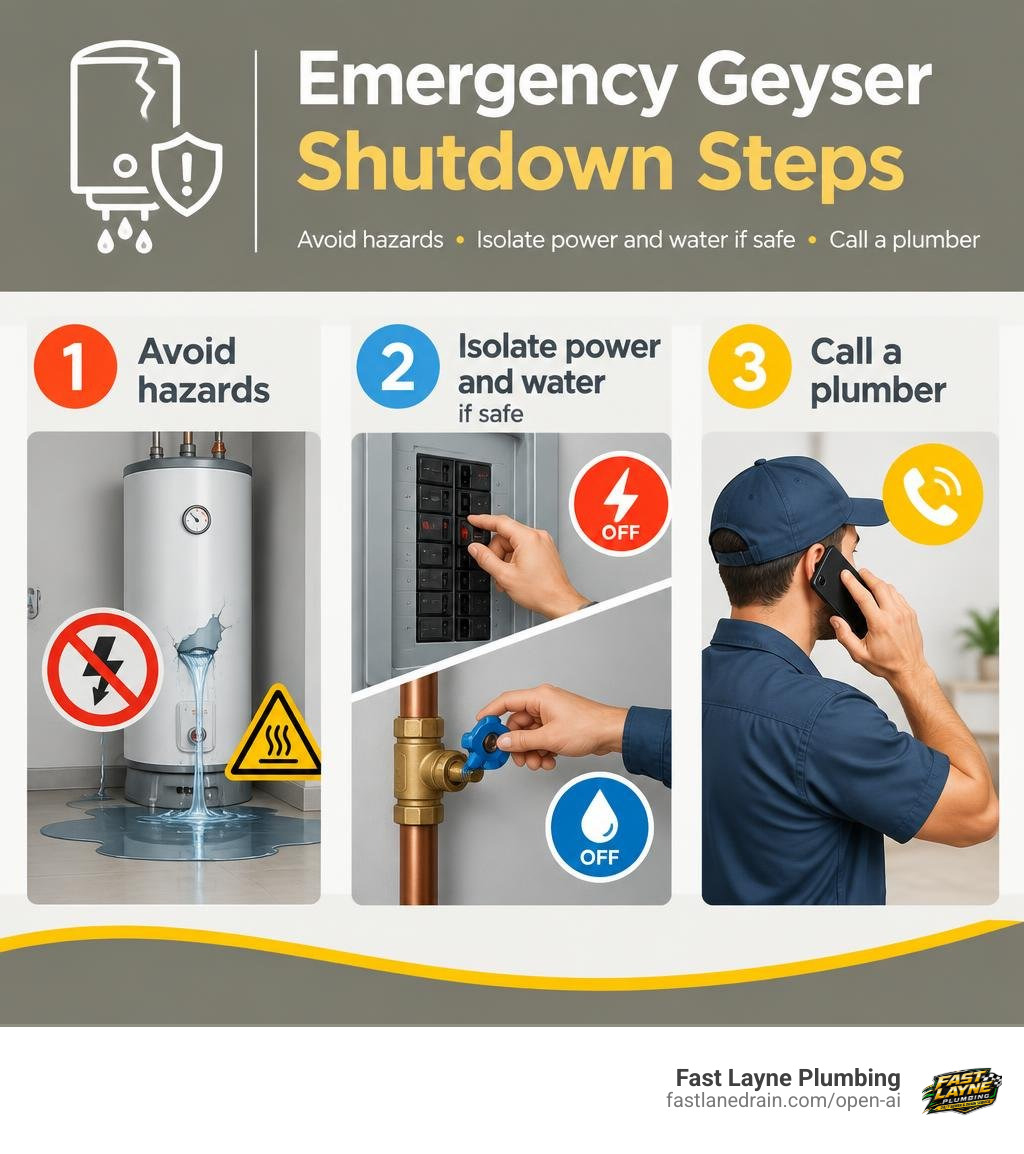
Emergency Geyser Repairs: What to Do First
If your geyser (water heater) bursts or leaks heavily, keep clear of hot water and wet electrical areas. Then:
- Turn off the water heater’s power and cold-water supply only if you can reach the controls safely. Never touch a wet breaker or switch.
- Move people away from the leak. Use towels or buckets to limit damage, but do not stand beneath a sagging ceiling.
- Call a plumber for emergency geyser repairs. A burst tank usually needs replacement; a leaking valve or connection may be repairable.
I’m David Layne, owner of Fast Layne Plumbing in Phoenix. With over 10 years in plumbing and experience in water-heater repair and 24/7 emergency response, I know how important clear guidance is when you need emergency geyser repairs.
Immediate Steps to Take When a Geyser Bursts or Leaks
When a water heater ruptures or suffers a major failure, gallons of scalding water can quickly flood your home, damage drywall, warp flooring, and compromise structural ceilings. Taking the right actions immediately minimizes property damage and protects your household from electrical hazards.

Step-by-Step Electrical and Water Isolation
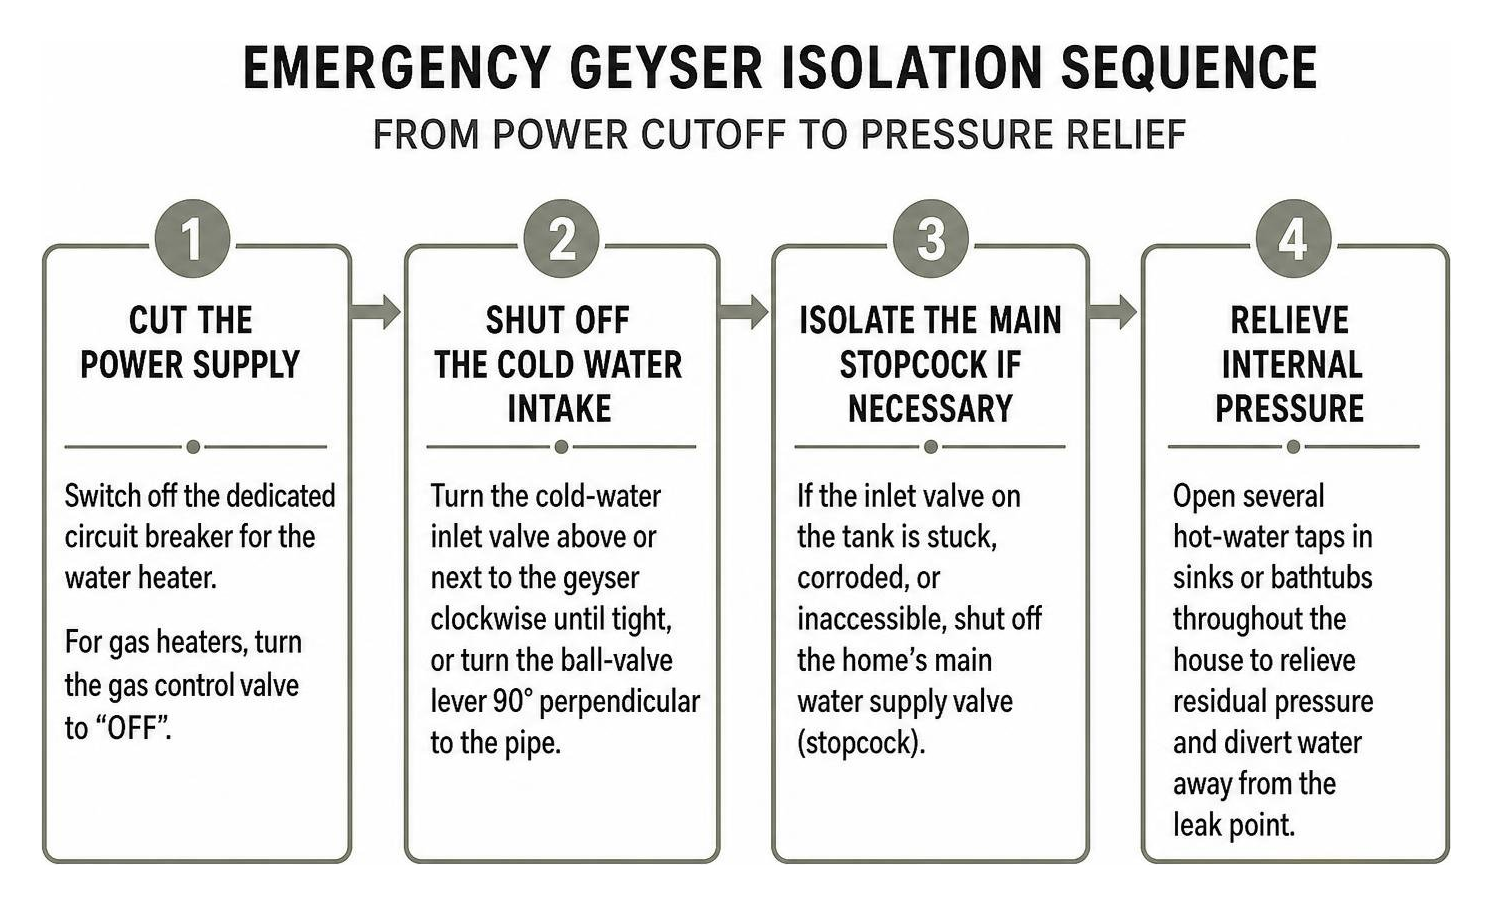
Prioritize your safety before attempting any property mitigation. Follow these isolation steps in sequence:
- Cut the Power Supply: For an electric geyser, locate your main electrical service panel and switch off the dedicated circuit breaker labeled for the water heater. If you have an external isolation switch near the unit, switch it off only if the surrounding floor and wall are completely dry. For gas water heaters, rotate the gas control valve knob to the “OFF” position.
- Shut Off the Cold Water Intake: Locate the cold-water inlet shutoff valve situated above or next to the geyser tank. Turn the gate valve clockwise until tight, or turn the ball-valve lever 90 degrees perpendicular to the pipe.
- Isolate the Main Stopcock if Necessary: If the inlet valve on the tank is stuck, corroded, or inaccessible due to spraying hot water, immediately shut off the home’s main water supply valve (stopcock).
- Relieve Internal Pressure: Open several hot-water taps in sinks or bathtubs throughout the house. This relieves residual pressure within the plumbing lines and diverts water away from the leak point.
Temporary Mitigation Before Emergency Geyser Repairs
While waiting for our emergency plumbing team to arrive, you can implement basic containment measures to protect your living spaces:
- Clear the Immediate Area: Move furniture, rugs, electronics, and valuables away from the footprint of the leak.
- Catch and Divert Water: Position heavy-duty buckets, plastic storage bins, or catch trays beneath active drips. If water is pooling inside a ceiling cavity, carefully place a bucket below the lowest sag point and puncture a small relief hole in the drywall with a screwdriver to channel the drainage centrally rather than letting the entire ceiling collapse.
- Apply Temporary Pipe Wraps: If the leak stems from an accessible, minor split on an external copper pipe or flex connector, wrapping plumber’s tape or a silicone repair clamp around the joint can slow the flow. Never attempt to plug, wrap, or seal a ruptured inner tank cylinder.
Common Causes Requiring Emergency Geyser Repairs
Understanding what causes sudden geyser failures helps you spot warning signs early and avoid catastrophic breakdowns.
Pressure Valve and Thermostat Malfunctions
Modern geysers operate under significant thermal pressure. When internal control mechanisms fail, the tank can exceed its structural design limits:
- Thermostat Runaway: A defective thermostat may fail to disengage after reaching the target temperature (typically 120°F to 140°F), causing the water to boil continuously.
- Faulty Temperature and Pressure Relief (TPR) Valve: The TPR valve serves as an essential safety release designed to discharge water if internal pressure exceeds safe thresholds. If sediment locks this valve shut or it corrodes over time, excess pressure strains the tank welds until they burst.
- Thermal Expansion: In closed-loop plumbing configurations without an expansion tank, heating water expands naturally, causing recurring high-pressure spikes that weaken the unit’s seams.
Corrosion, Sediment, and Component Breakdown
Most water heaters degrade from the inside out due to chemical interactions with municipal water:
- Sacrificial Anode Depletion: The anode rod inside the tank attracts corrosive minerals, sacrificing itself to shield the steel tank lining. Once the anode rod deteriorates entirely (usually within 2 to 5 years), rust begins attacking the tank walls directly.
- Sediment Buildup: Hard water minerals settle at the bottom of the cylinder, creating an insulating barrier over the lower heating element or gas burner. This sediment layer causes localized overheating, popping sounds, efficiency loss, and accelerated base corrosion.
- Element Burnout: Electric heating elements short-circuit or burn out when encrusted with thick mineral scale, leaving your household with no hot water or causing persistent electrical breaker trips.
Repair vs. Replace: Emergency Decision Framework and Costs
When an emergency strikes, deciding whether to repair a damaged component or replace the entire unit comes down to tank integrity, age, and long-term operating costs.
| Evaluation Factor | Repair Candidate | Replacement Candidate |
|---|---|---|
| Unit Age | Under 8 years old | Over 10–12 years old (or 15+ for tankless) |
| Failure Location | External valve, thermostat, element, or pipe | Tank cylinder rupture or rusted base |
| Repair Cost Ratio | Less than 50% of a new installation | Greater than 50% of replacement cost |
| Frequency of Issues | First isolated component breakdown | Recurring leaks, frequent tripping, rumbling |
| Energy Efficiency | Modern energy standards | High energy consumption, outdated insulation |
Evaluating Lifespan and Damage Severity
Traditional electric tank models generally last 10 to 12 years, while gas tank systems average 6 to 10 years. In contrast, tankless units can provide reliable service for 15 to 20 years when properly maintained. Solar geysers also offer an operational life of 10 to 20 years with periodic servicing.
If water is actively leaking from the structural body of the tank, the inner lining has failed, and replacement is mandatory. External components—such as a leaking valve, a blown heating element, or a loose union fitting—can often be repaired cost-effectively without replacing the entire cylinder.
Typical Costs for Emergency Geyser Repairs and Parts
Budgeting for emergency plumbing requires transparency. Component part replacements fall within predictable ranges:
- Thermocouple or Thermopile Replacement: Around $20 for the DIY part or approximately $200 for professional supply and installation.
- Heating Element Replacement: Replacement elements cost between $10 and $60, requiring about 2 to 3 hours of labor including tank draining.
- Thermostat Replacements: Individual upper or lower electric thermostats cost roughly $20 for parts.
- Pressure Relief Valve (TPR): A replacement valve runs around $15 for the part and can be installed in about 15 to 30 minutes.
- Anode Rod: New rods cost about $50 and take under 30 minutes to swap out.
- Gas Control Valve: Major gas valve replacements generally range between $300 and $500.
- Igniter Replacement: Typical repair costs range between $75 and $350.
- Tankless Heat Exchanger: Component replacements range between $400 and $800.
- Recirculating Pump: Replacement units span from $400 to $3,200 depending on plumbing capacity.
At Fast Layne Plumbing, we provide upfront flat-rate pricing before beginning any work, ensuring you never encounter hidden overtime surcharges during midnight emergencies.
Managing Insurance Documentation and Professional Restoration
A burst geyser can cause thousands of dollars in secondary structural damage. Filing a successful homeowners insurance claim requires thorough documentation:

- Capture Photographic Evidence: Take clear, wide-angle and close-up photos and videos of the failed geyser, serial number plate, burst location, and all affected property (soaked ceilings, ruined flooring, damaged cabinets).
- Retain Failed Parts: Ask your technician to leave defective components or keep the damaged cylinder accessible for insurance adjuster inspection if required.
- Request a Detailed Plumber’s Report: We provide an itemized incident invoice outlining the root cause of failure (such as mechanical fatigue, pressure valve failure, or tank rupture).
- Obtain a Plumbing Certificate of Compliance: Insurers frequently require proof that the replacement installation adheres to municipal plumbing and building codes.
Frequently Asked Questions About Geyser Emergencies
How long do emergency geyser repairs or replacements take?
An isolated component repair (such as replacing a thermostat, heating element, or TPR valve) typically takes 1 to 3 hours. A complete emergency geyser replacement—including safely draining the old tank, removing the cylinder, setting the new unit, connecting plumbing and electrical lines, and testing pressure—generally takes 3 to 5 hours from arrival to final commissioning.
What are the main safety hazards of a burst geyser?
The primary hazards include:
- Electrocution: Water leaking into nearby electrical switches, junction boxes, or distribution boards can energize standing water.
- Scalding: Water inside the tank is stored at temperatures high enough to cause severe thermal burns within seconds.
- Ceiling Collapse: Ceiling boards saturated with water can suddenly collapse under heavy weight, presenting physical impact risks to anyone standing below.
Can annual maintenance prevent catastrophic geyser failures?
Yes. Annual maintenance prevents up to 85% of catastrophic geyser breakdowns. Key preventative tasks include flushing the tank every 12 months to eliminate sediment, inspecting and replacing the sacrificial anode rod every 2 to 4 years, manually testing the TPR valve for proper discharge, and installing a thermal expansion tank or water softener to mitigate mineral scaling in hard-water regions.
Conclusion
Facing a burst geyser is stressful, but acting swiftly to isolate power and water will protect your home from extensive water damage and safety hazards. When you need immediate, dependable assistance, our licensed team at Fast Layne Plumbing provides comprehensive diagnostics, clear flat-rate pricing, and a 100% satisfaction guarantee. Contact us anytime for fast 24/7 emergency plumbing solutions across the Phoenix area.